
Charlotte NC Photographer | Finding the Light for Portraits
For every session I shoot, I prioritize the light. Sure, I spend a lot of time on picking out a location, talking about wardrobe with clients, and so much more. But ask any photographer what the most important aspect of photography is and they’ll tell you it is the light. How do I prepare for a portrait session and plan out unpredictable and incomprehensible lighting? The answer isn’t as simple as you might think. Whether you’re a client of mine, a hobbyist photographer, or a professional photographer yourself, I hope you find this article on basics portrait lighting interesting!
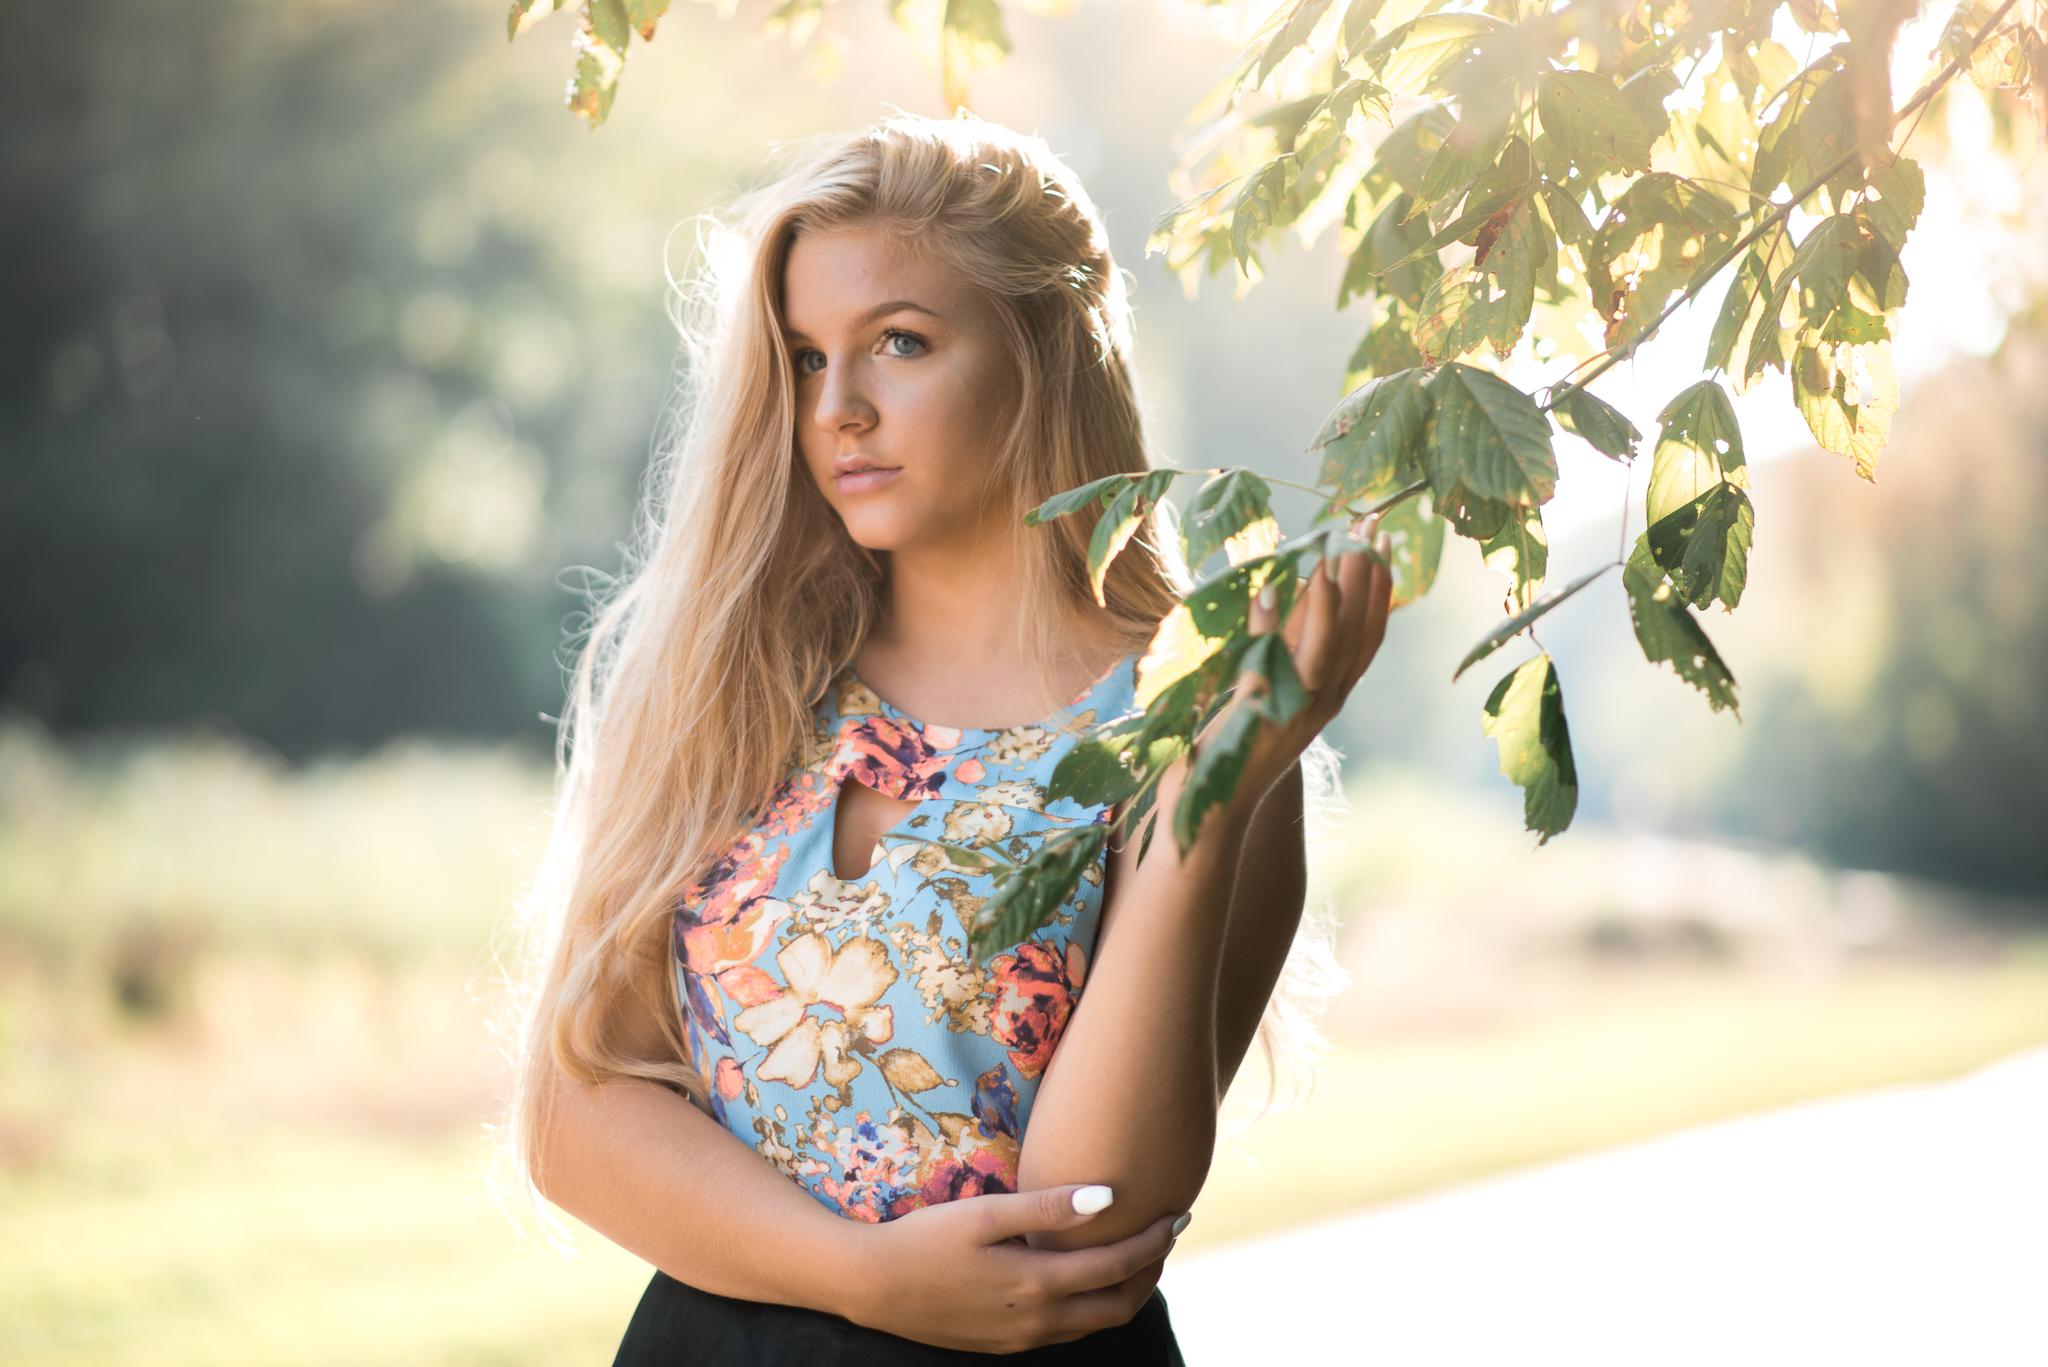
The above image was shot at golden hour with ample natural light, and off camera flash in a softbox umbrella camera left (key light) to balance exposure and flatter her features.
1. Get Inspired
I love to start my planning from home. To do this, I do basic searches for lighting setups, natural lighting, and a mixture of natural and artificial lighting. I enjoy working with both natural / ambient lighting and flash. I like to stay on my toes and practice both techniques often. Pinterest has a lot of ideas for all lighting situations, so that’s where I start. Building up a board of ideas for the type of session I’ll be having is step one. I visit it often to refine the pins and narrow down the lighting I want to achieve the most. A lot of the time I will pin a photo and break down the lighting components to try and replicate it entirely. It’s both fun and challenging to try and figure out how another photographer lit their subject.
Did they use natural light behind or beside the subject? Was the sun peeking out from behind a cloud? Was the subject in full shade? What time of day was this photo taken? Did they balance the sun with off camera flash?
You get the point. The starting place for preparing to light your own portrait session is to dissect the lighting from other artists, and try to replicate the situations yourself.
2. Get into the Field
The next step is to actually get out there and discover light. I walk around local parks and hidden treasures, scanning my surroundings for trees overhead, reflective surfaces, and neutral color casts at the exact time of day I would shoot a session. Since I typically shoot 1-2 hours before sunset (golden hour), that means I take these scouting trips at that time on the days before the session. This way, I can see exactly where shade will fall, which direction the sun is coming from, and how the location changes over the course of an hour. Is there a particular spot that I need to shoot first before the sun falls a few degrees in the sky? Is there a specific time that the tall grass in a field will glow orange from the sunset?
3. Test the Light
While on location scouting an area, I take my hand in front of me and rotate it 360 degrees to see how harsh the shadows are on my palm. I can tell from looking at my hand which areas on location have diffused lighting for key light. I can also tell which areas have harsher lighting that may work better as side or backlighting with off camera flash in the front. Pay careful attention to how the light may flatter a face in a portrait. If there are deep and dark shadows, it’s not going to be a great spot or position for a glamour portrait. However, it may work well with a scrim or with a male portrait.
But it isn’t sufficient to simply walk around and look at the light falling on your palm or another person. I make the most out of my scouting trips when I actually take photos and test the light that way. My scouting photos look pretty silly a lot of the time as they will often just be testing the bokeh, but they help me to stay inspired about upcoming shoots. They also better prepare me by seeing how I can frame a subject and seeing how my different lenses frame the space.
Bonus Tip: Prepare for Anything
In an ideal situation, the sun will be out, clients will arrive to their session on time, and all of my equipment will function properly for a portrait session. However, that isn’t always the case. If the sun is covered by a cloud or you have rain or snow, what then? What if your clients get to their session so late that the sun has dipped below the horizon? What if your flash isn’t functioning?
If the weather is gloomy, I need to allow more light into my camera by using a higher ISO setting, a wider aperture, or a slower shutter speed. Since I tend to have my clients move around a lot, I can’t slow my shutter speed too low (usually I keep it above 250). Instead, I shoot wide open and raise my iso until the exposure meter is balanced. Sometimes that means I’m shooting well over 1000 ISO. I won’t have a gorgeous warm sun flare in the gallery, but gloomy days give me a lot of gorgeous diffuse lighting, and that has it’s advantages as well. I like to play with OCF in these cases to add dimension.
If the session runs late and you’re shooting in the dark, you will want to have your off camera flash on hand. I still like to shoot with a higher ISO in this case to bring in as much ambient lighting as possible, but without flash there just isn’t enough light. It’s surprising how quickly after sunset it turns to night, and having a flash ready is always a great idea provided you know how to use it.
If my flash malfunctions during a shoot and I’ve tried my backup flash as well, I need to make some quick decisions to change the course of the session. In this case I’ve had to switch to complete natural light, and that may again mean increasing the ISO or changing other camera settings, but it may also mean a change in position. If my clients are facing away from the sun and it’s still well above the horizon, they will be silhouettes without flash. So I will look for shade quickly to balance the exposure behind them and in front of them as to avoid clipping the details in shadows and highlights.
Final Thoughts
Having a grasp on lighting means anticipating the surroundings, thinking about flattering your subject, and having a solid backup plan when things occasionally go wrong. Both natural and artificial lighting are useful in their own right, but they both have their pitfalls to be aware of. Lighting is such a dominant concept in photography because it is linked to the overall mood of a portrait, but it also will hide ore reveal different features on the face. When natural lighting is diffuse and just directional enough, I leave my flash out of the equation completely. But knowing when the portrait needs flash is an important part of portrait photography for me personally. It’s what helps me achieve a cohesive style of well-lit, bold, timeless portraits.
Questions?
If you have any comments or questions, leave them below or shoot me a message on my contact page. I’d love to hear how you prepare for portrait lighting in your sessions. Feel free to begin a discussion here in the comments!
COMMENTS